
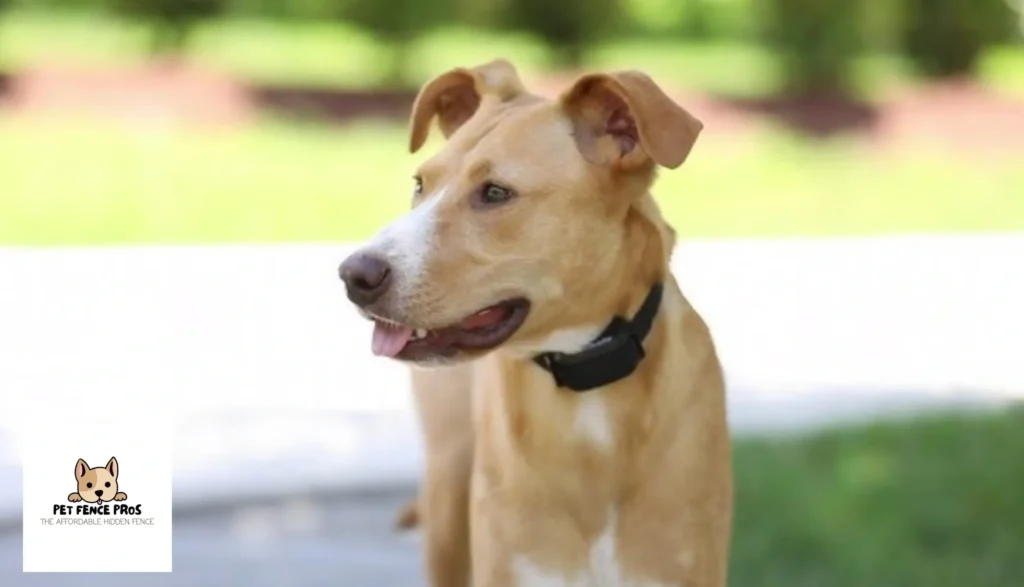
As a pet owner in Sarasota who relies on a pet fence to keep your furry friends safe and secure, you understand the importance of a functional pet fence collar. When your pet’s collar isn’t working correctly, it can jeopardize the effectiveness of the entire system. In this comprehensive guide, we’ll provide you with a step-by-step troubleshooting process to resolve pet fence collar issues in Sarasota.
Understanding the Pet Fence Collar
The pet fence collar is a crucial component of your pet containment system. It communicates with the buried wire or transmitter to enforce the boundaries you’ve set for your pets. A properly functioning collar emits warning tones and corrections to deter your pets from crossing the boundaries, ensuring their safety.
Common Pet Fence Collar Issues
Before we dive into troubleshooting, it’s essential to recognize some common issues you may encounter with your pet fence collar:
- Weak or Dead Battery: If the collar’s battery is weak or depleted, it may not function correctly.
- Incorrect Fit: Ensuring that the collar fits properly and snugly on your pet’s neck is crucial for proper functioning.
- Intermittent Signals: Interference or disruptions in the signal between the collar and the transmitter can lead to inconsistent performance.
Troubleshooting Your Pet Fence Collar
Follow these steps to identify and resolve pet fence collar issues in Sarasota:
Step 1: Check the Battery
Begin by inspecting the collar’s battery. If it’s weak or dead, replace it with a fresh one. Regularly changing the battery is essential to maintain the collar’s functionality.
Step 2: Ensure a Proper Fit
Verify that the collar fits correctly on your pet. It should be snug but not too tight. An improper fit can affect signal transmission.
Step 3: Test the Collar
Test the collar by walking your pet near the boundary. Observe whether the collar emits warning tones and corrections as your pet approaches the set boundaries. If it doesn’t, move on to the next step.
Step 4: Inspect the Contacts
Check the collar’s contact points to ensure they are clean and in good condition. Dirt, debris, or corrosion can interfere with the collar’s effectiveness. Clean or replace the contact points if needed.
Step 5: Address Signal Interference
If you’re experiencing signal interference or disruptions, make sure there are no electronic devices or metal objects in close proximity to the transmitter that may affect the signal. Relocate any potential sources of interference.
Step 6: Seek Professional Support
If you’ve followed these troubleshooting steps and your pet fence collar issues persist, it may be time to contact a professional. The Pet Fence Pros in Sarasota can provide expert assistance to diagnose and resolve complex collar problems.
Conclusion
Maintaining a properly functioning pet fence collar is essential for the safety and happiness of your pets in Sarasota. By following these troubleshooting steps and addressing collar issues promptly, you can ensure that your pet containment system remains effective. Should you require further assistance, don’t hesitate to reach out to The Pet Fence Pros in Sarasota. We’re here to keep your pets safe and secure with our expertise in pet containment solutions.